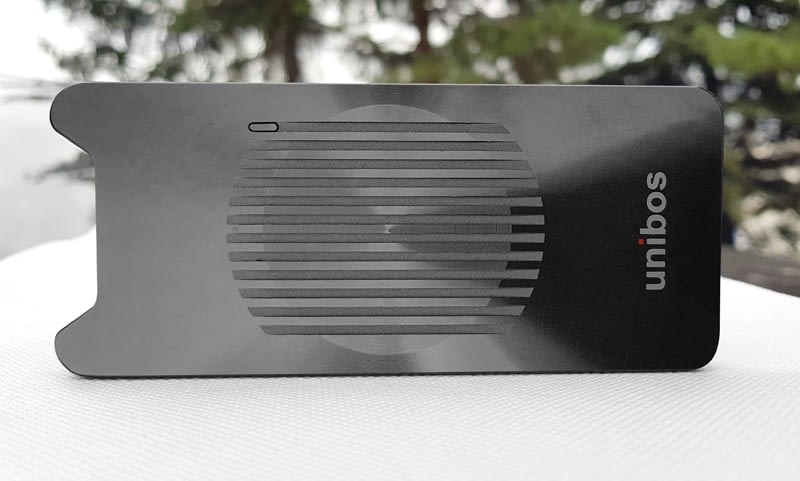
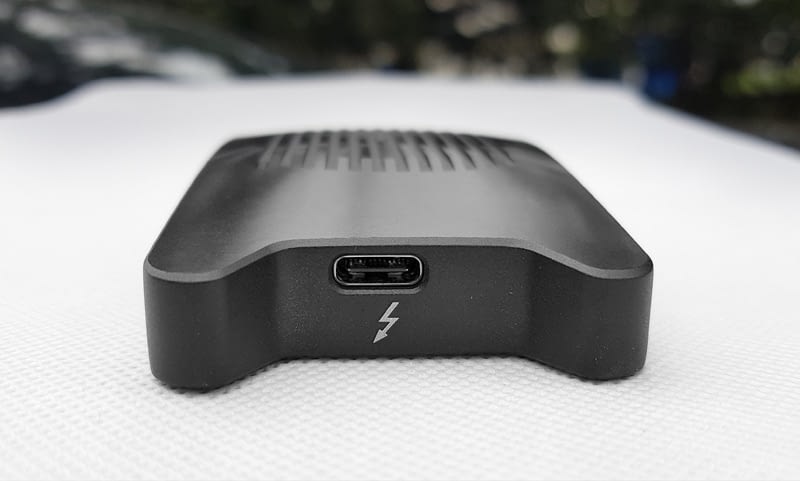
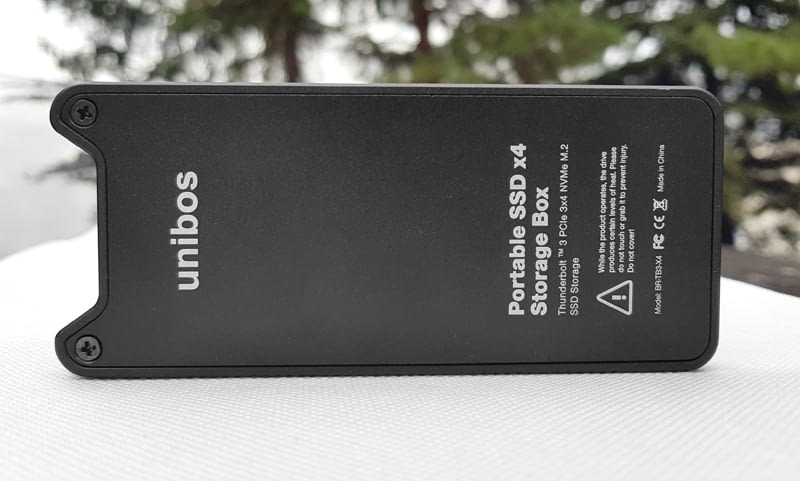
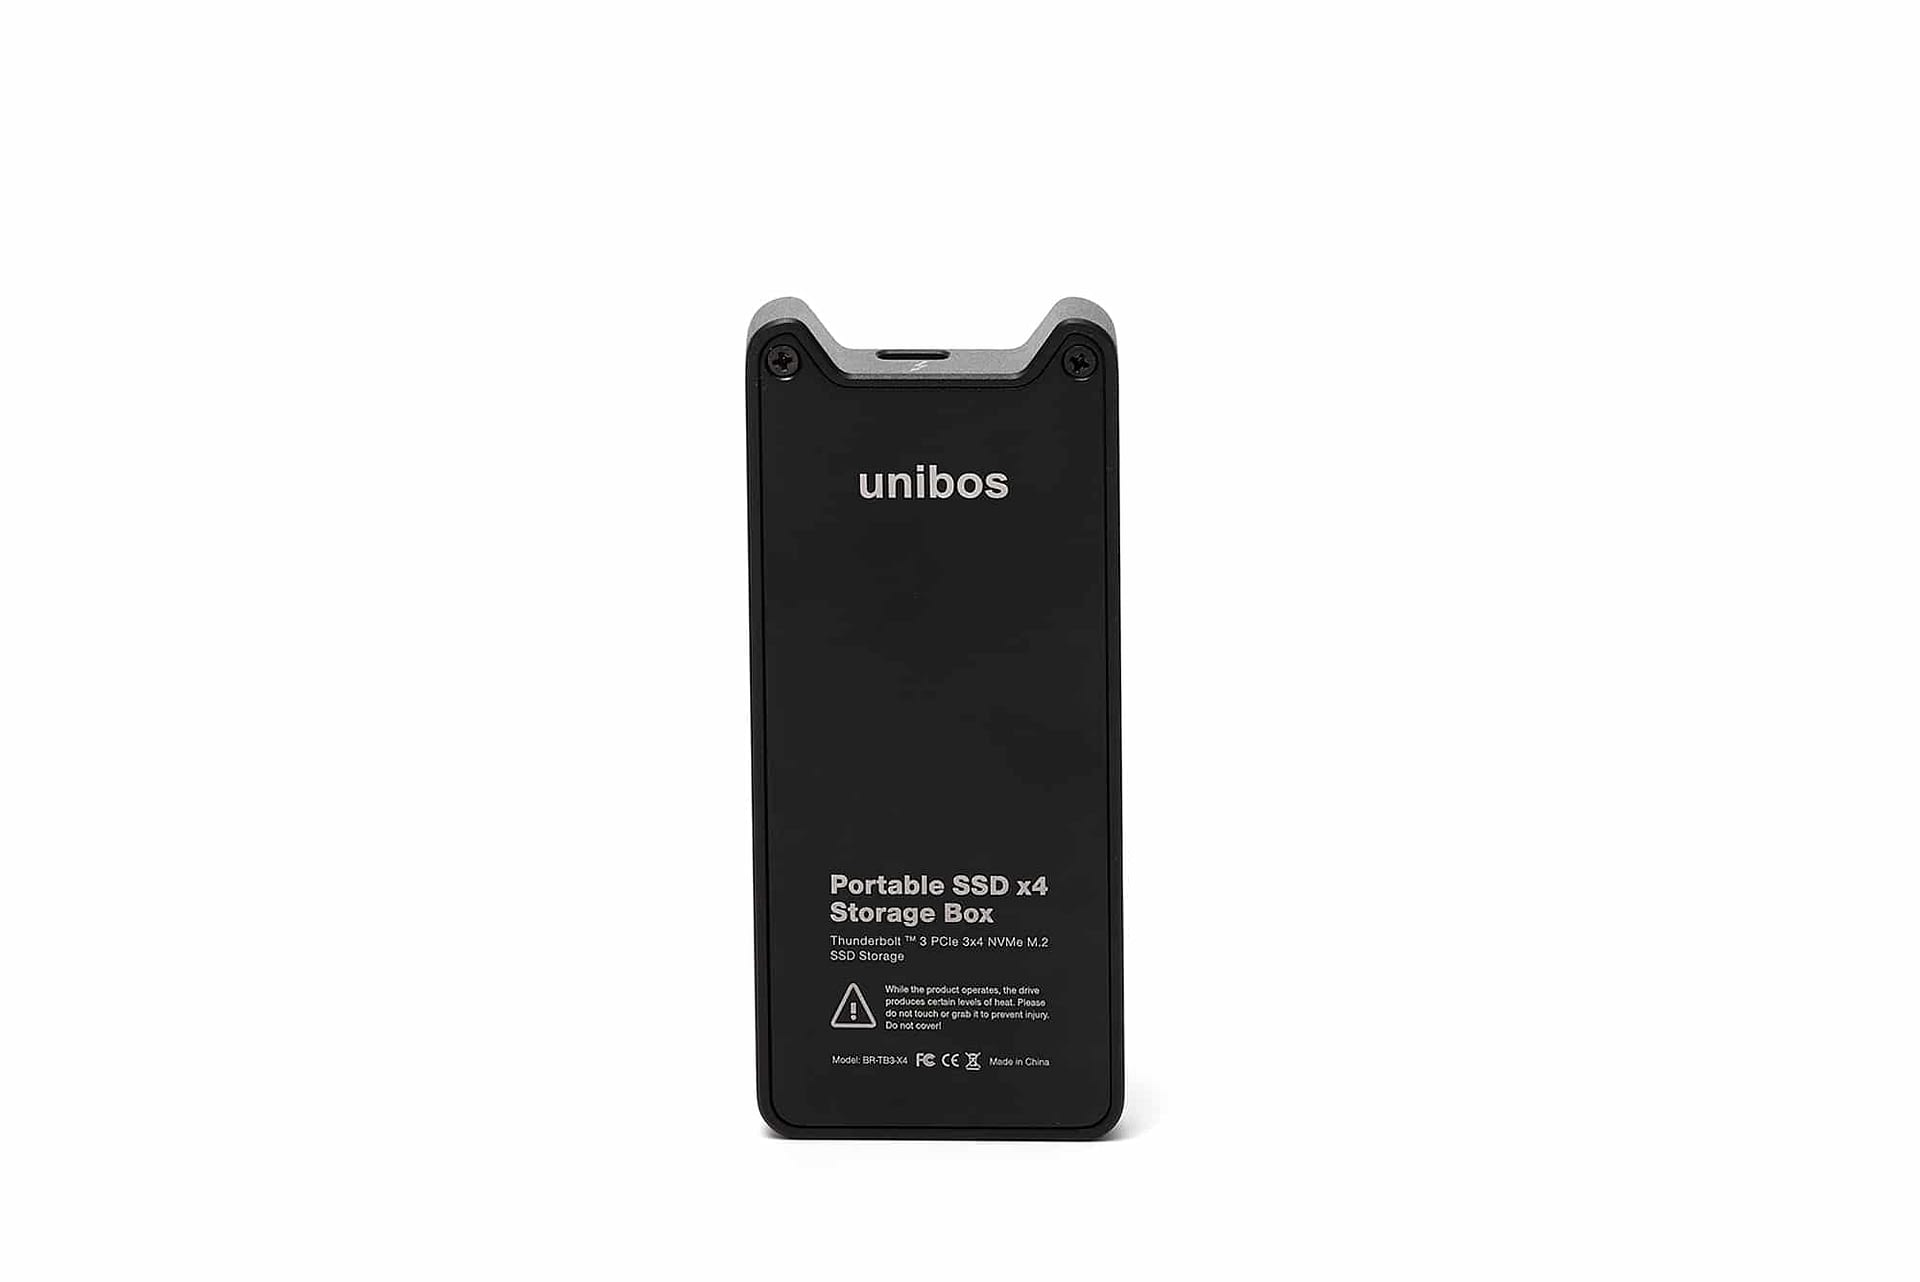
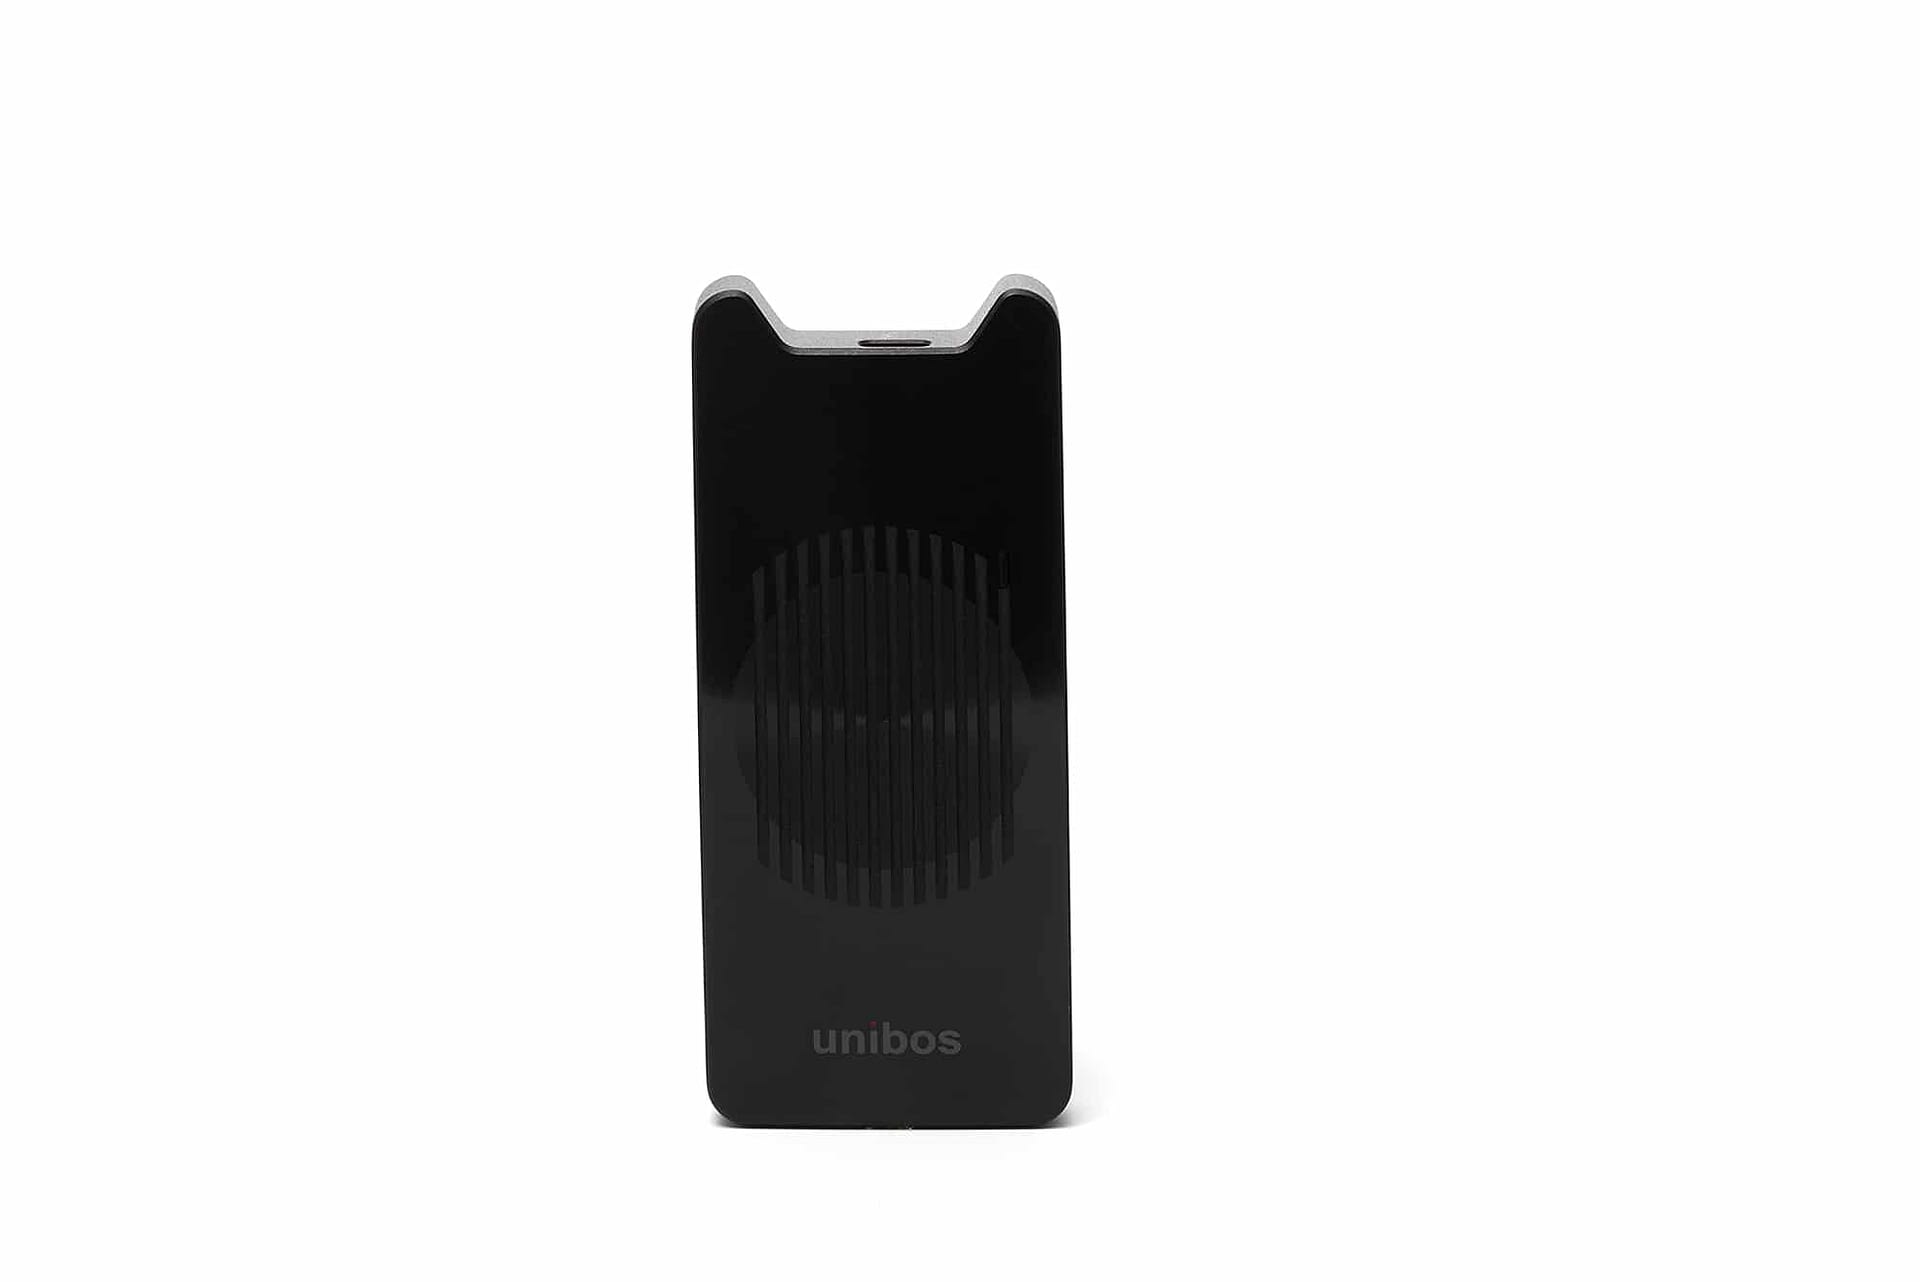
Revolutionary external Thunderbolt™ 3 enclosure from unibos with transfer speeds of up to 40Gb/s takes advantage of the newest technologies currently available to achieve the best performances. The combination of the newest Thunderbolt™ 3 adapter and NVME.M2 drive along with the Intel® JH6340 chipset ensures a truly stunning speed – eight times the speed of a regular USB 3.0, to be precise. Compact size, elegant and silent design along with incredible speeds make unibos BR-TB3-X4 an excellent companion for those who want the absolute best.
UNIBOS Portable SSD x4 Storage Box
Portable Thunderbolt 3 PCIe 3×4 NVMe M.2 SSD Storage Box
| Model | BR-TB3-X4 |
|---|---|
| Colour | Black |
| Dimensions | 50x16x115 mm |
| Weight | 120g |
| Material | Aluminium – CNC finishing |
| User interface | Thunderbolt™ 3 |
| Chipset | Intel® JH6340 Thunderbolt™ 3 Controller |
| Transfer rate | up to 40 Gb/s |
| Supported drivers | M.2 NVMe SSD 2280 M.2 |
| Interface | x4 PCIe Gen3 |
| Socket | M.2 SSD 2280 |
| Cooling | Passive |
| Supported operating systems | Windows 2K, 7, 8, 9, 10, |
| Bootable | Yes |
| Package contents | 1x BR-TB3-X4 |
FAQ
How do you make Thunderbolt 3 work on Windows 10? Are you having troubles getting Thunderbolt 3 to work with your Windows 10 device? You can find a guide below on how to make sure your Thunderbolt 3 device is running smoothly. Make sure you have the current version of:
- BIOS
- Thunderbolt 3 firmware
- Thunderbolt 3 drivers
- Windows 10
Connecting for the first time When connecting Thunderbolt 3 for the first time to a supported machine, you should get a pop.up window asking for a verification of the connected device: “A new thunderbolt device has been connected” Follow these steps to verify the device
- Click OK
- When Authorising Windows User click YES
- You should get another pop-up window, where you can select the connection options: Do not Connect, Connect Once, Always Connect. Choose as you wish and click OK
If your computer doesn’t prompt you to go through these default settings, you can use Thunderbolt software or Thunderbolt Control Panel to manage these settings. Thunderbolt Software
- Connect your Thunderbolt device to your computer
- Right click on the Thunderbolt icon in the lower right corner of your screen
- Choose the “Always Connect” option in the menu
- Click OK
Checking the firmware version:
- Click the Thunderbolt icon in the lower left corner of your screen
- Click on “Details”
Thunderbolt Control Panel
- Connect your Thunderbolt device to the PC
- Go to the search bar in the lower left part of your screen
- Search for “Thunderbolt Control Panel” and open
- Click on “Menu”
- Click on “Authorize Thunderbolt Device”
- In the next menu, choose “Always Connect”
- Click OK
Checking the firmware version:
- Go to the search bar in the lower left part of your screen and click on the found panel
- Click on “Menu”
- Click on “Details”
For questions regarding your PC, please contact the PC manufacturer or motherboard manufacturer. You can review the following website for additional information Thunderbolt™ Updates

